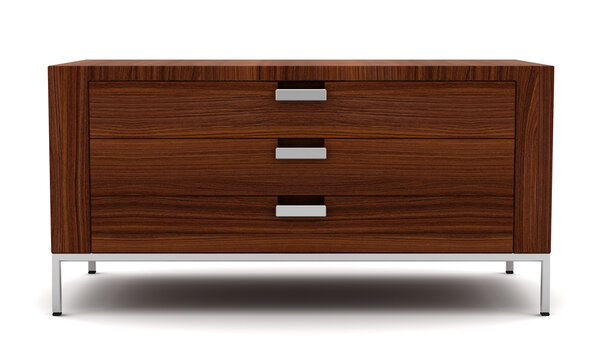
Steps to Improve Your eCommerce Product Photography
You’ve got a great product, but without top-notch photos of it, you aren’t going to sell much of it online.
Photography can be hard, though, especially if you are shooting your own product shots and you don’t have any experience with lighting and editing.
Here are some simple steps to improve your eCommerce product photography so that you can get more customers through your site.
1) Choose the Right Light
When you’re taking photos of your products, make sure they’re in good light. If you’re taking photos of jewelry or other products that can be sparkly and dazzling, make sure there are no shadows on them at all.
This will enhance their shine and give your product a professional look.
2) Set Up Your Studio
When shooting product photography, it’s important to set up a work area with ample lighting and room for equipment.
The space should be clean, clutter-free, and organized so that there is no chance of things getting knocked over or moved during a shoot.
If you don’t have your own studio space available, you can rent temporary studio space through companies like Photobooth Supply Company.
3) Set Up Appropriate Backdrops
If you’re photographing something like a watch or a bracelet, try setting it up in front of a light-colored wall.
While these products won’t pop as much as more brightly colored objects, they can help with backgrounds that might otherwise distract from your product.
You can also use white paper or cardboard behind your object if there is not an appropriate backdrop nearby.
4) Use Relevant Props
The first step to capturing great photos of your products is, of course, taking them. But setting a product up in a photo studio and shooting it on an empty white background isn’t going to cut it if you want shoppers to relate with your products in their home environments.
5) Get Equipment
To take high-quality product photos for your online store, you’ll need a couple of key pieces of equipment: a lightbox, background paper, and a good camera.
To get started, invest in a lightbox with removable sides that let you easily change out your backdrops. It doesn’t have to be fancy or expensive, but make sure it has at least three sides and good LED lighting.
You’ll also want some white and black background paper so you can use different colors for contrasting effects.
6) Make your image sharp
Before you even think about lighting, make sure your image is sharp and in focus. Don’t know how? Download a basic photography tutorial from your favorite search engine and practice with a camera that has manual controls.
It’s important to learn how to control shutter speed, aperture, ISO, and focal length in order to get consistently sharp photos of small objects like jewelry or clothing.
Be sure to have a tripod handy—this will ensure that each shot is as clear as possible.
7. Adjust your photo exposure
If you’re shooting in a light-filled room, tweak your exposure so that it brings out darker and richer colors. This will give off a more elegant look. If you’re shooting on a smartphone, play around with different settings until you find one that works best for your photo.
If you’re using a DSLR camera, try adjusting your white balance settings or lighting conditions.
8. Keep Image sizing consistent
It’s easy to get caught up in making your product look perfect on screen, but it doesn’t always translate well into a photograph.
Making sure you keep your image sizing consistent across different platforms and devices will help your photos be more cohesive when seen in a shop window or on an iPhone screen.
9) Place your products front and center
If you’re selling products online, your product photography is just as important as your written description.
Many buyers (especially those in smaller towns) won’t be able to physically see your products, so great photos are crucial for convincing them that they need what you’re selling.
Place your products on a clean white background and take clear photos from multiple angles. Always include close-ups of important features or accessories.
10) Add reflections
Reflections help products stand out from their backgrounds. An easy way to get a reflection in your photo is to use a piece of colored cellophane, like Saran Wrap. To create a reflection on an object, place it behind or just off-center of your product.
Positioning your camera so that it reflects in either part of your product's background can create a sense of depth and dimension for you product photography, which will draw attention and improve sales.
Final Words
Now that you have some basic concepts down, it’s time to improve your product photography. I hope these tips will help. As always, feel free to contact me with any questions!


Comments
Post a Comment